What is glitch art?A glitch is an error. Machines are programmed to prevent glitches and errors, and artists play with these "errors" to create art. "The concept of glitch art is simple: In a world of innovative technology, glitching explores the beauty of faults, bugs, and glitches in digital files." Dallas. (2013). Glitch art (Part 1: The basic databend). Retrieved from http://blog.oskouioskoui.com/?p=6161 Glitch art can only exist becaue of technology. This form of art created by technology redefines and creates an entirely new genre of art making. Before current technology and computers, glitch art was not possible. What is particularly nice about glitch art is the convenience of creating it. But how can glitch art be created?For Windows Users:1. Pick an image to glitch. This process will only work well with .bmp .tiff or .raw. If your image is not one of these filetypes, you can “save as” one of these in MS Paint or any other image editor. Dallas. (2013). Glitch art (Part 1: The basic databend). Retrieved from http://blog.oskouioskoui.com/?p=6161 For Mac Users:1. Pick an image to glitch. Any format will work, but for beginners a .jpg image will be perfect. Dallas. (2013). Glitch art (Part 1: The basic databend). Retrieved from http://blog.oskouioskoui.com/?p=6161 But why create glitch art?Artists are excellent at adapting. With new technologies emerging, artists tinker until new discoveries are found. In society, we focus primarily on perfection. Glitch art breaks from that mold of perfection. Glitch art is mysterious. We can create art by chance too. But what makes glitch art even more useful for artists is the ease of being able to create glitch art. All that is required is a computer and Dallas' (2013) article to lead the way. Give glitch art a try for yourself. Tinker. Explore. Create! My Experience Creating Glitch ArtWhen I first attempted creating glitch art, I removed too many elements from the codes of my images. My programs would crash because my images were too glitched. I began to experiment with removing various parts of the image code. Eventually, I started seeing results. Many of the images that erupted from my experiments were not impressive to me, so I continued to tinker. I began to alter the file types as well and changes began to take interesting turns. I began glitching my images in color format as well. I toyed with changing the type of Bitmap file each image would be. I used Monochrome, 16 Color, 256 Color, and 24-bit continuously for some images for some effects. I did not have a particular method for removal of parts of code. I randomly selected portions to delete and let each piece come by chance. Below are some of my favorite glitch creations. 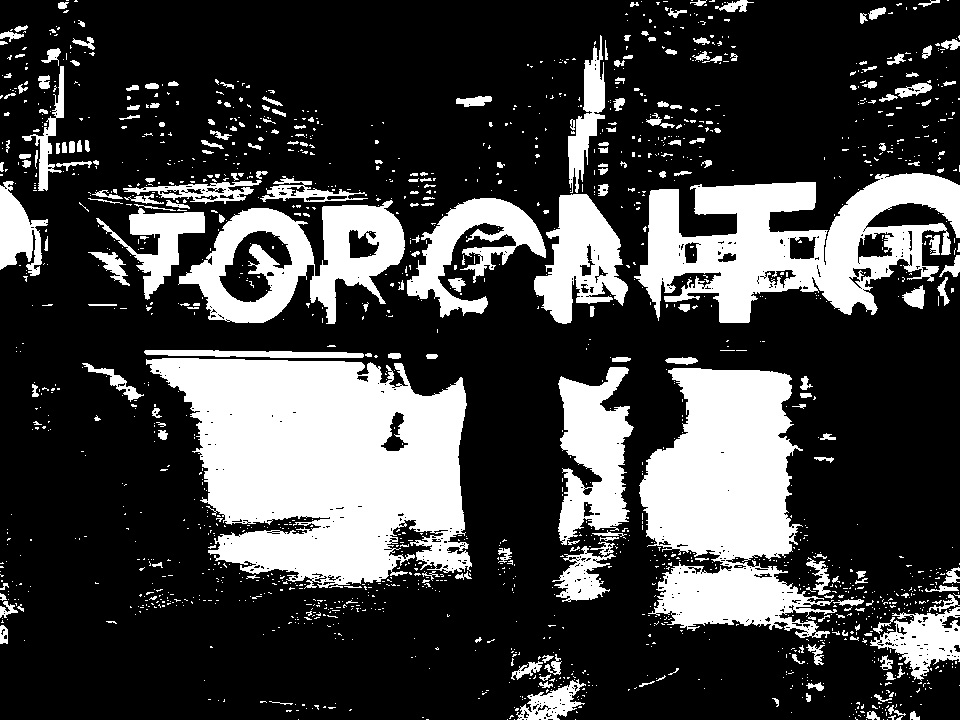 I used this photo that was taken of me figure skating in Toronto, Ontario. My image file continued to fail, so I changed the coloring format. I ended up picking monochrome. 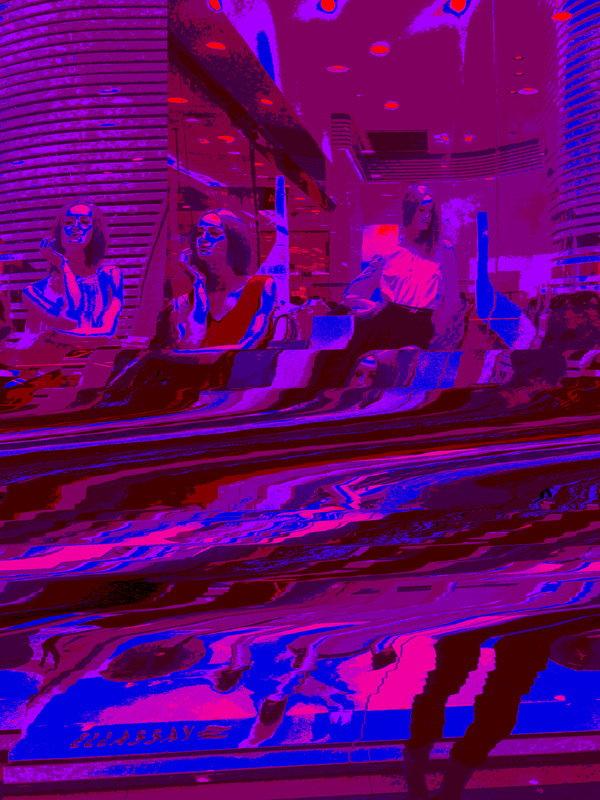 This image was fun to create. I was originally in the image but I was glitched out. All that remains are the manequins behind me. 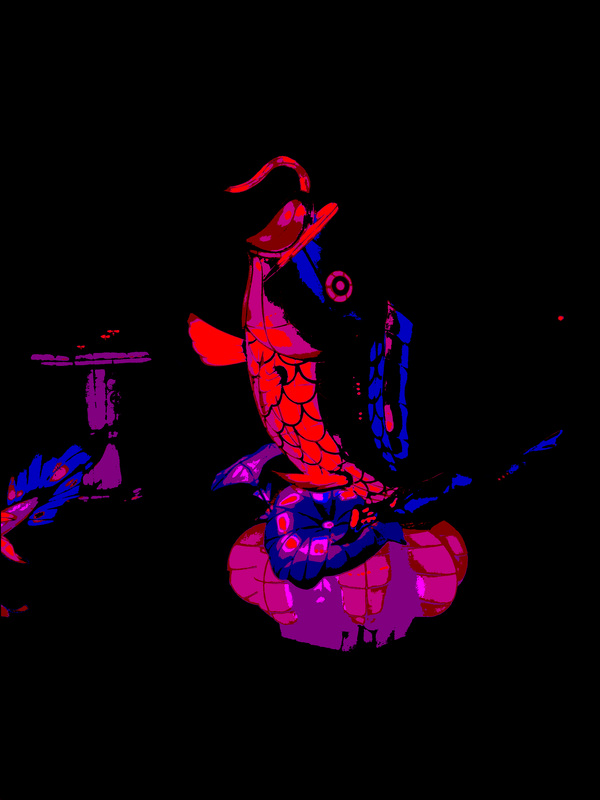 This image was originally of a "light parade" at Niagara Falls. In glitching this image, the background disappeared. I also enjoyed changing the file colors too; they made the the koi really "pop."  This was originally a picture of a monotype print I made. I continued to "rework" the code until I created something I liked. I spent a lot of time on this image especially.  This image was the final image I created. After tinkering for some time with my previous images, I finally found a rhythm that suited me.
0 Comments
Leave a Reply. |
Archives
May 2018
Categories |
 RSS Feed
